Step-by-step guide to creating and configuring your website.
Plan Limits: Free: 1 site · Pro: 5 sites · Business: 20 sites · Enterprise: Unlimited
Create a New Site
To create a site, go to the Sites section in your dashboard and click Create Site. You will need to provide the following:
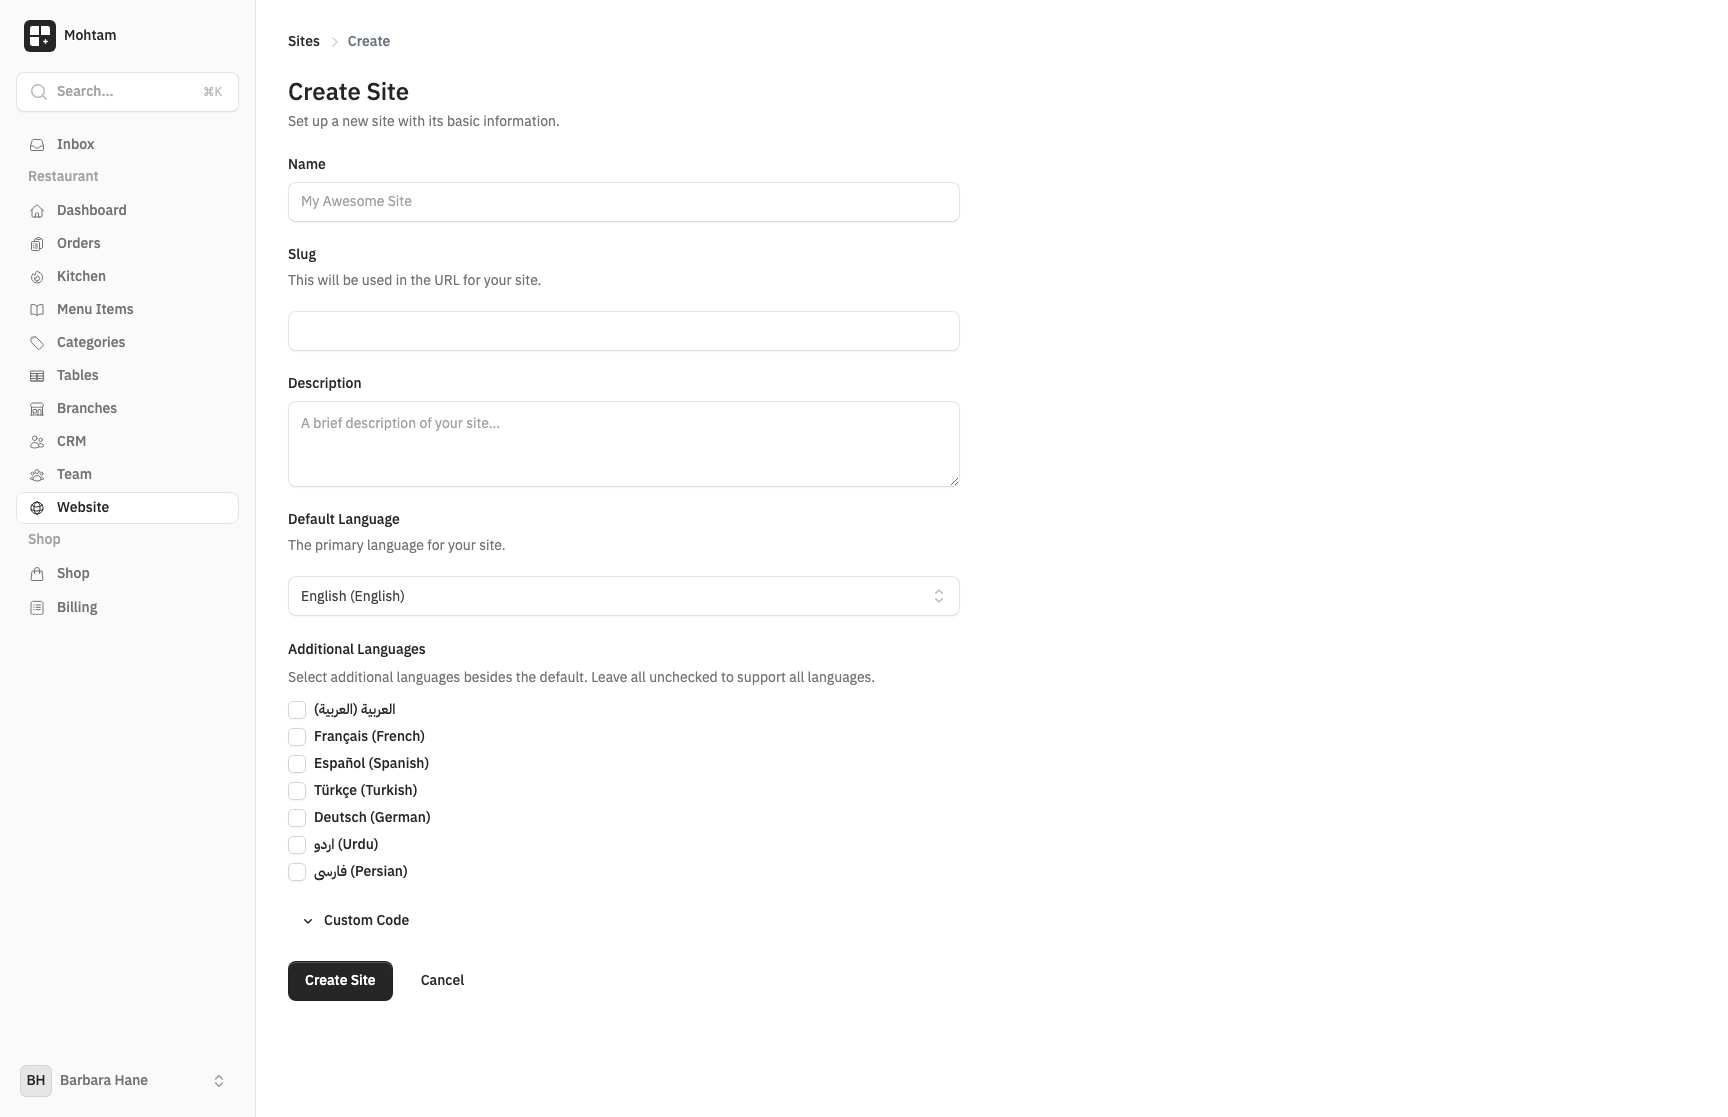
- Site Name — The display name for your website (e.g., "My Business Site").
- Slug — A URL-friendly identifier used in your site's default address (e.g.,
my-business-site). This is auto-generated from your site name but can be customized. - Description — An optional summary that appears in search engines and social media previews.
Choose Your Languages
Select a default language for your site. This determines the primary language for your content and interface direction (LTR or RTL).
You can add additional languages at any time. Each language gets its own translated version of every page, and visitors can switch between them. AI translation is available to speed up the process.
Site Settings
After creating your site, configure it through the Settings page:
- Logo — Upload your brand logo. It appears in the site header and favicon area.
- Favicon — A small icon displayed in browser tabs. Upload a square image (recommended 512x512px).
- Tagline — A short phrase that appears below your site name.
- Social Links — Add links to your social media profiles (Twitter/X, Instagram, Facebook, LinkedIn, etc.). These appear in your site footer.
Editing Your Site
You can update your site name, description, and all settings at any time from the site's Settings page. Changes take effect immediately.
Deleting a Site
To delete a site, go to Settings and scroll to the danger zone. Deleting a site removes all its pages, forms, submissions, and analytics data permanently.