Create categories, add menu items with details, and manage availability.
Overview
Your menu is organized into categories, each containing individual items. Customers see this structure when they browse your menu via QR code.
Creating Categories
- Go to the Menu section of your restaurant.
- Click Add Category and enter a name (e.g., "Appetizers", "Main Course", "Drinks").
- Categories can be reordered by dragging them into your preferred display order.
Adding Menu Items
Within a category, click Add Item and fill in the details:
- Name — The item name as customers see it (e.g., "Grilled Chicken").
- Price — The base price in your restaurant's currency.
- Description — A short description of the dish, ingredients, or serving style.
- Calories — Optional calorie count for health-conscious customers.
- Allergens — Mark common allergens (nuts, dairy, gluten, etc.) so customers can filter safely.
- Preparation Time — Estimated time to prepare the item, shown to customers at checkout.
Item Modifiers and Add-Ons
Modifiers let customers customize their order. Create modifier groups (e.g., "Choose Your Side", "Spice Level") with options and optional extra charges. Each modifier can be required or optional, and you can set minimum and maximum selections.
Translations
If your restaurant supports multiple languages, you can translate category names, item names, and descriptions. Use the language switcher in the menu editor to add translations for each supported language.
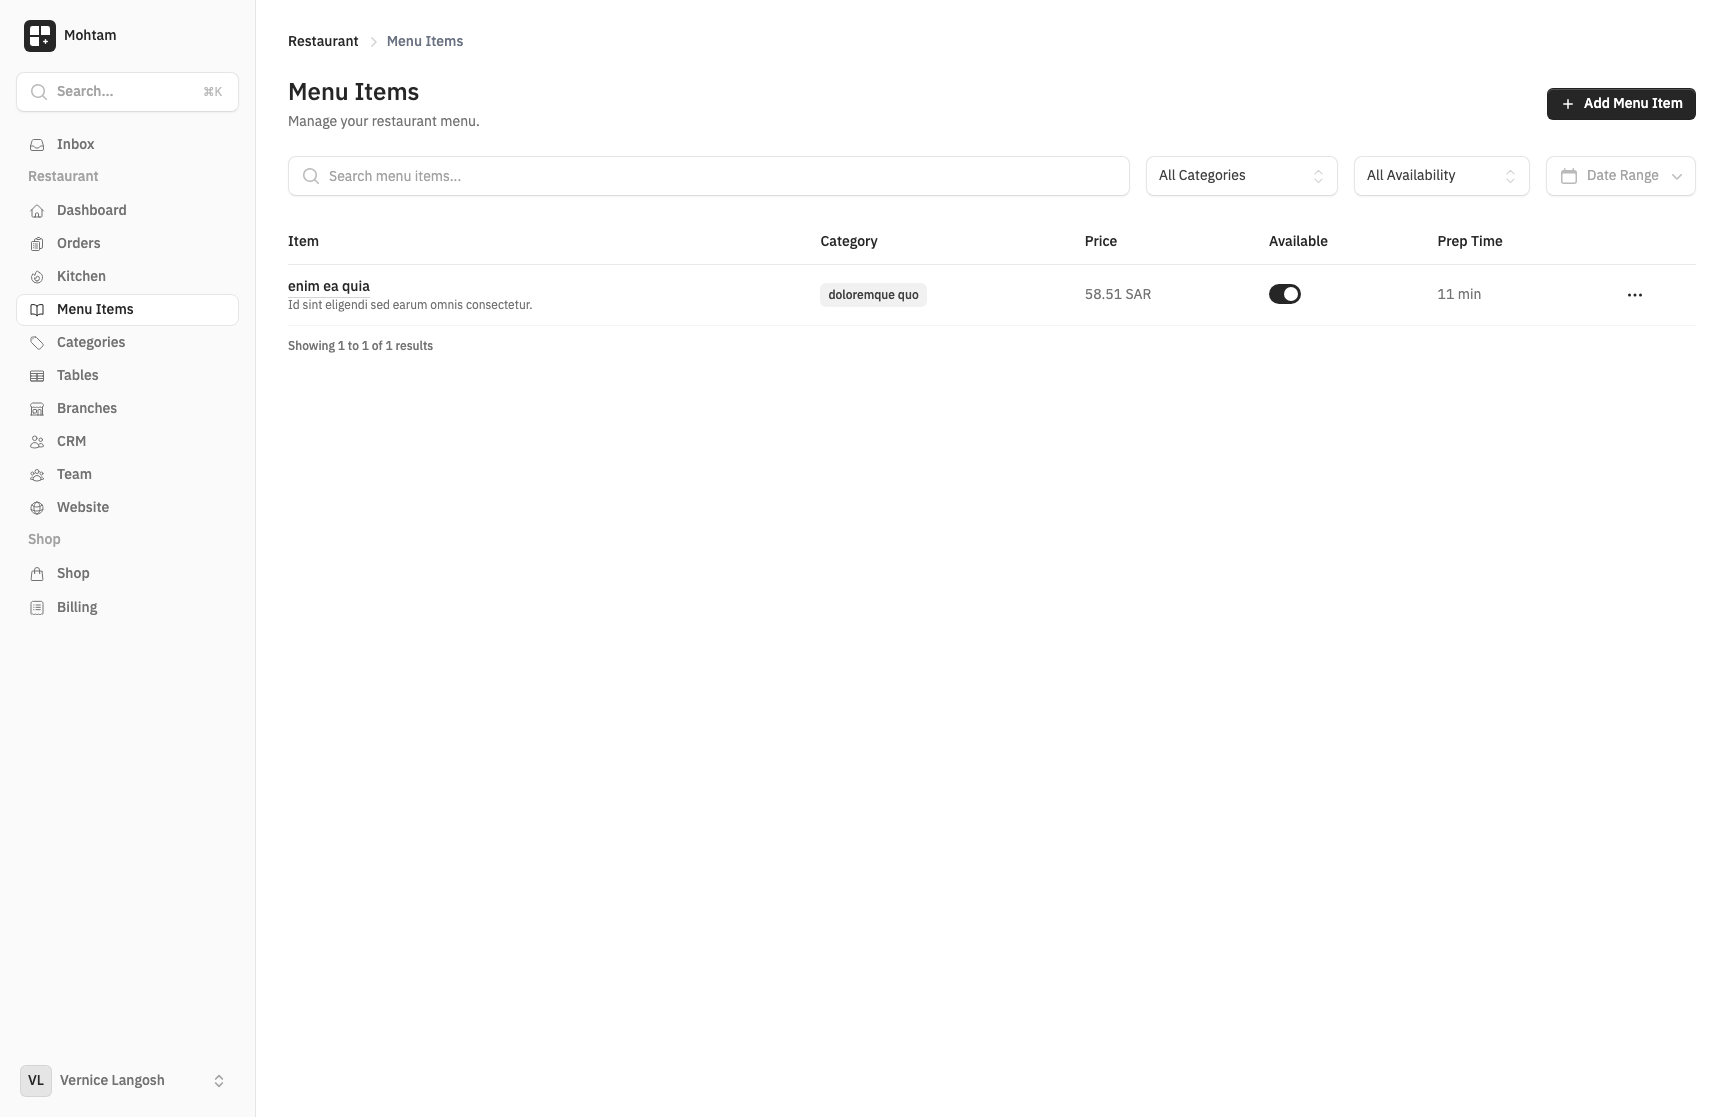
Availability Toggles
Each menu item has an availability toggle. Turn items off when they are out of stock or temporarily unavailable. Disabled items are hidden from the customer menu automatically.
Sorting
Both categories and items within categories can be sorted by dragging them into your desired order. The display order in the editor matches what customers see when browsing your menu.