Connect your own domain with DNS configuration, SSL, and verification.
Adding a Custom Domain
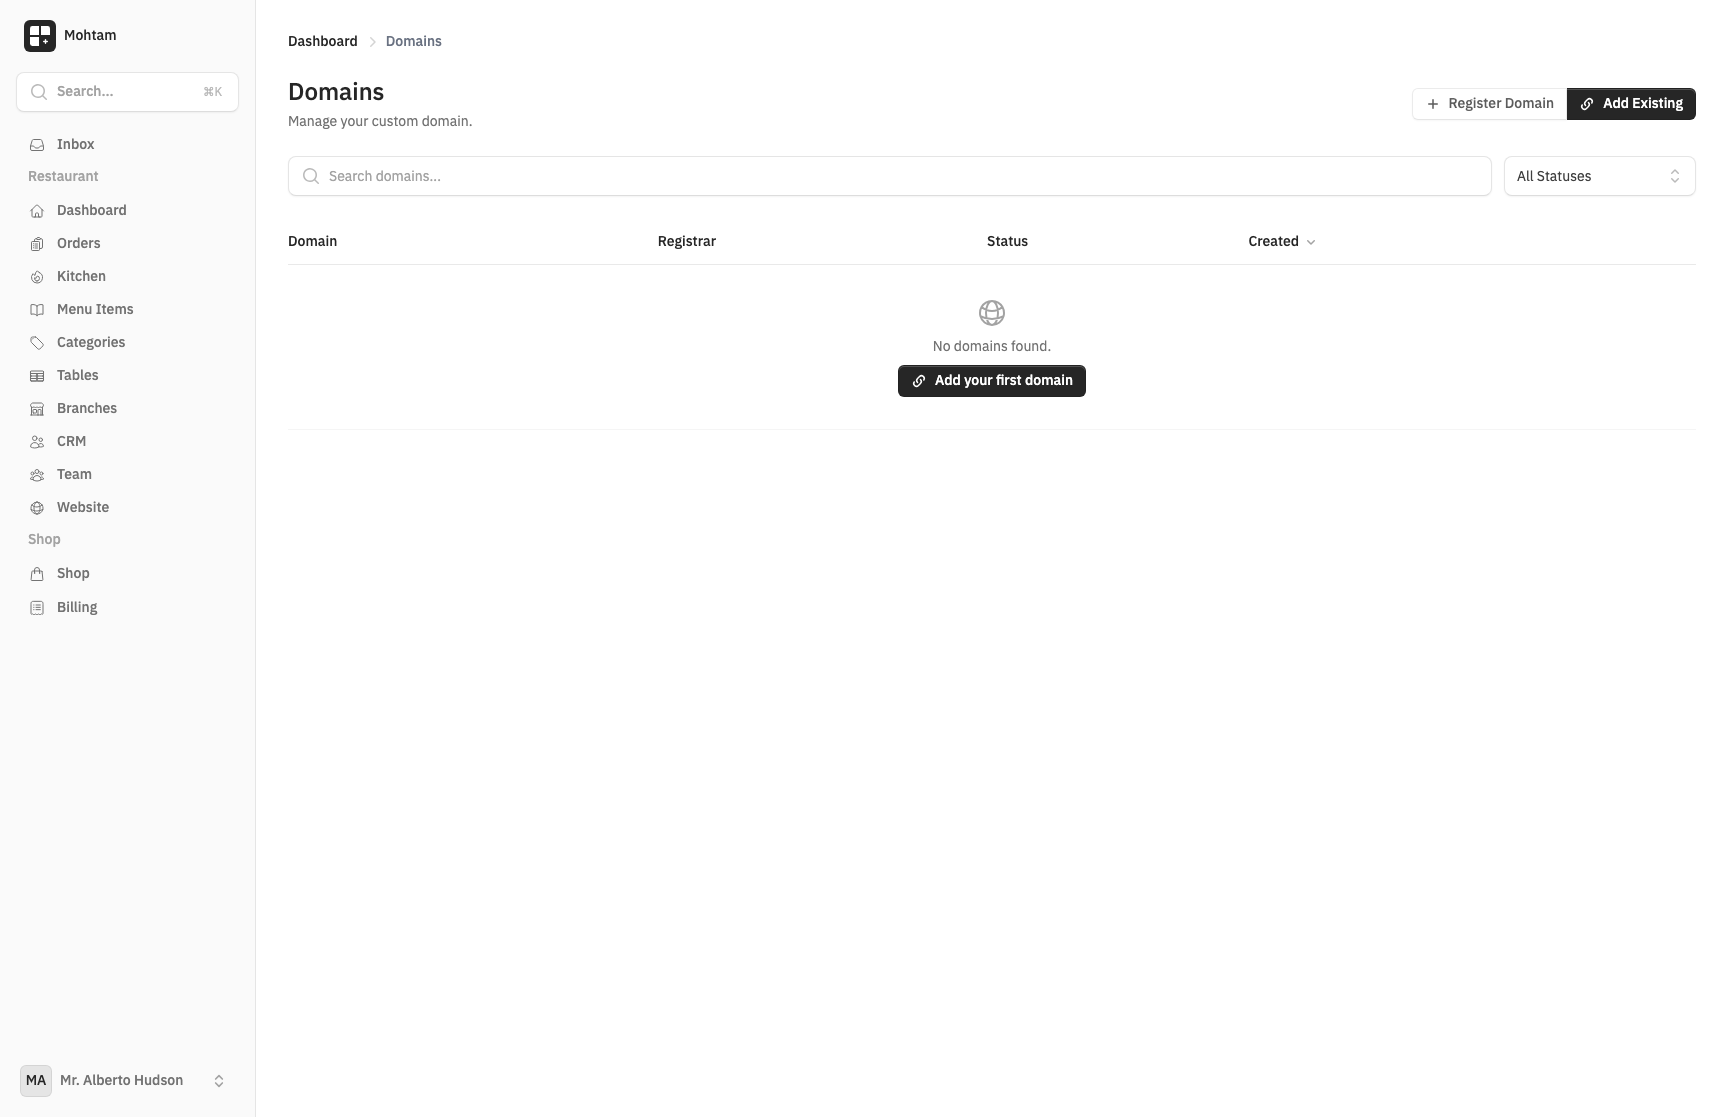
A custom domain lets your site appear under your own branded URL (e.g., www.yourstore.com) instead of the default subdomain.
- Go to Settings > Domains.
- Click Add Domain.
- Enter your domain name (e.g.,
yourstore.comorwww.yourstore.com). - Save and proceed to DNS configuration.
DNS Configuration
You need to create two DNS records with your domain registrar:
CNAME Record (for www subdomain)
| Type | Host | Value |
|---|---|---|
| CNAME | www |
your-workspace.yourdomain.test |
A Record (for root domain)
| Type | Host | Value |
|---|---|---|
| A | @ |
The IP address shown on your domain settings page |
If you only want to use the www version, the CNAME record alone is sufficient. For root domain access (yourstore.com without www), both records are required.
SSL Certificate
Once your DNS records are verified, an SSL certificate is provisioned automatically. This process typically takes a few minutes. After provisioning, your site is accessible over HTTPS with no additional configuration.
Verification
After saving your DNS records, return to Settings > Domains and click Verify. The system checks that your DNS records point to the correct destination. Verification usually succeeds within minutes, but DNS propagation can take up to 48 hours depending on your registrar.
Troubleshooting DNS Propagation
If verification fails:
- Wait and retry — DNS changes can take 1-48 hours to propagate globally. Try verifying again after 30 minutes.
- Check your records — Log in to your registrar and confirm the records match exactly what is shown in your domain settings.
- Flush DNS cache — Use a tool like dnschecker.org to see if your records have propagated.
- Remove conflicting records — Ensure there are no duplicate A or CNAME records for the same host that could cause conflicts.