Manage tables with QR codes and run multiple restaurant branches.
Plan Limits: Starter: 1 branch, 10 tables · Growth: 3 branches, 30 tables · Professional: 10 branches, 100 tables · Enterprise: Unlimited
Managing Tables
Tables represent physical seating locations in your restaurant. Each table gets a unique QR code that customers scan to place orders.
Creating Tables
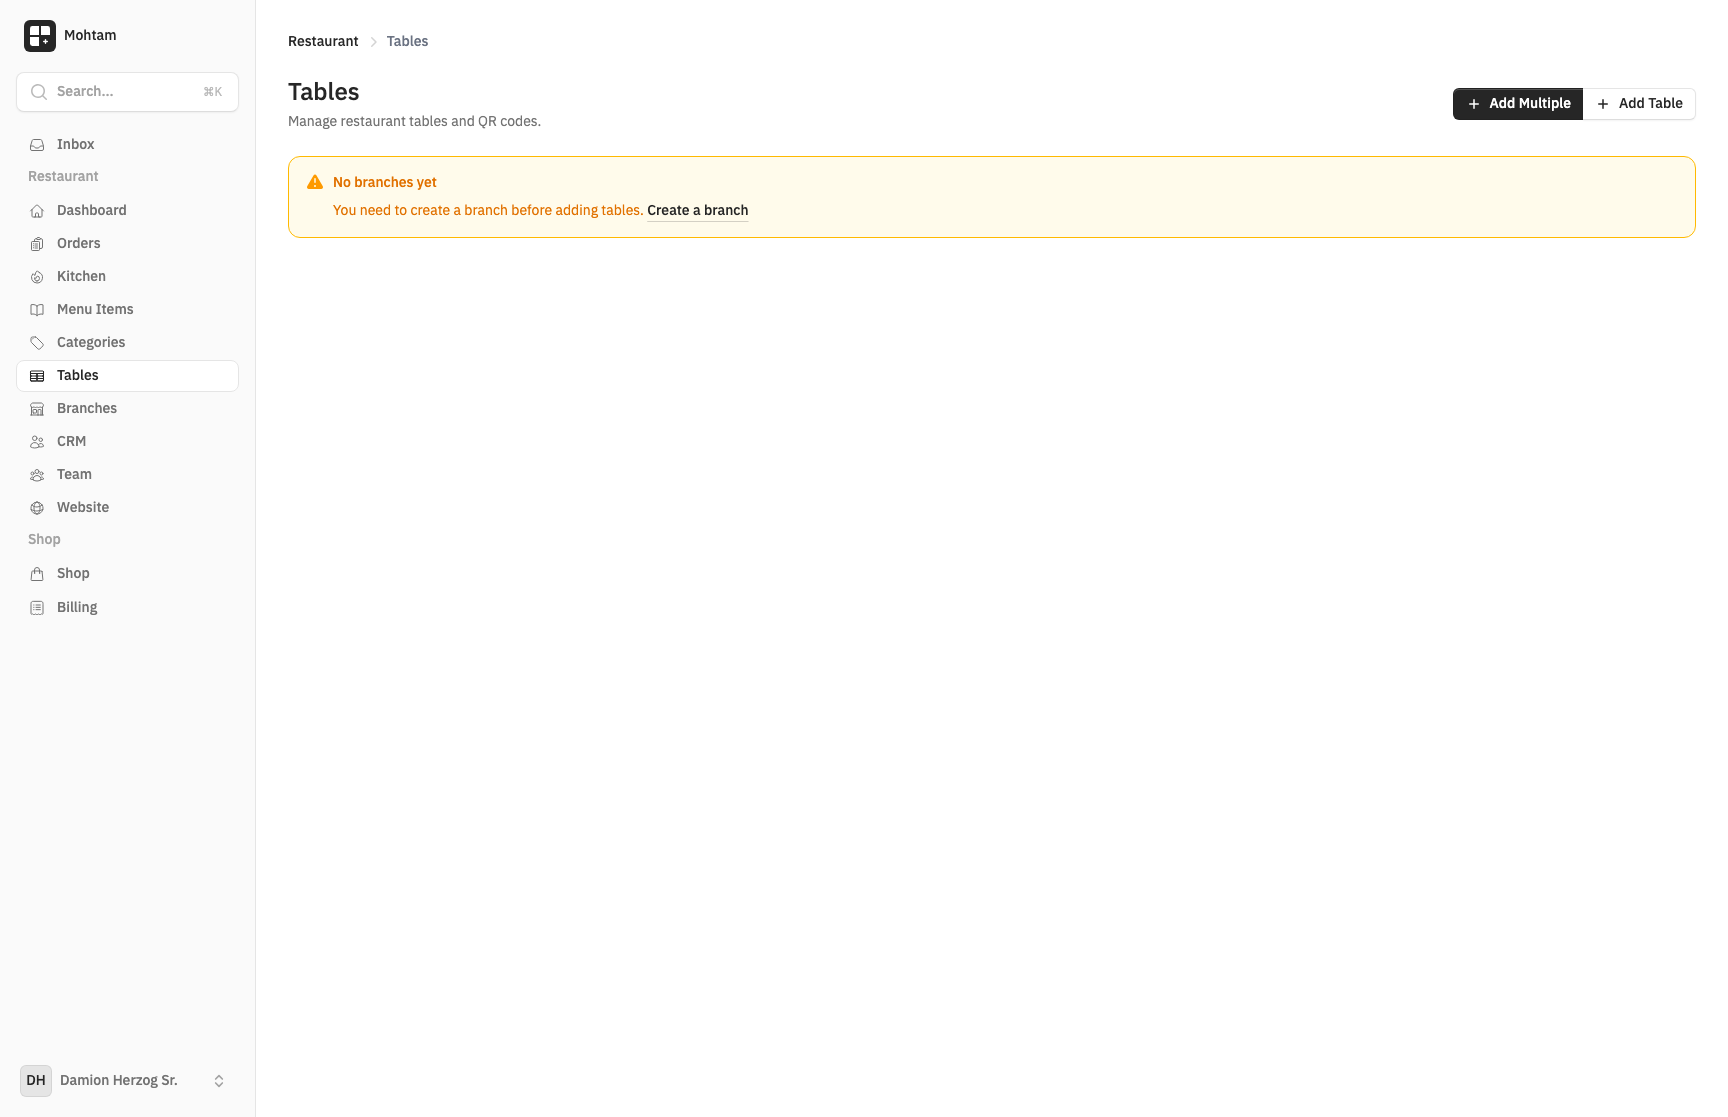
- Go to the Tables section of your restaurant.
- Click Add Table.
- Enter the table details:
- Table Name/Number — A label for the table (e.g., "Table 1", "Patio A3").
- Capacity — The number of seats at the table.
- The table is created and ready for QR code generation.
You can create as many tables as your restaurant needs. Edit or delete tables at any time from the tables list.
Generating QR Codes
Each table has a unique QR code that links directly to your menu with the table pre-selected. To get the QR code:
- Find the table in your tables list.
- Click the QR code icon to download the code as an image.
- Print and place it on the corresponding table.
When customers scan the code, their orders are automatically tagged with the correct table number, so your kitchen staff and servers know exactly where to deliver.
Managing Branches
For restaurants with multiple locations, the branches feature lets you manage each location separately while keeping everything under one account.
Creating a Branch
- Navigate to the Branches section.
- Click Add Branch and enter the branch name and details.
- Each branch can have its own set of tables and its own QR codes.
Branch Features
- Each branch maintains its own table layout and QR codes.
- Orders are organized by branch so you can track performance per location.
- Staff can be assigned to specific branches.
- Menu items are shared across branches, but availability can be toggled independently per branch.